Ok, so I’m a little late to the game. People have been making cool stuff using edge-lit acrylic for a long time now. A friend coaxed me into making a sign, and the potential and possibilities of edge-lit artwork captured my imagination. It is a bit labor intensive, but this tutorial, will walk you through converting a photograph or image into free-standing, desktop portrait.
Required
- Photo
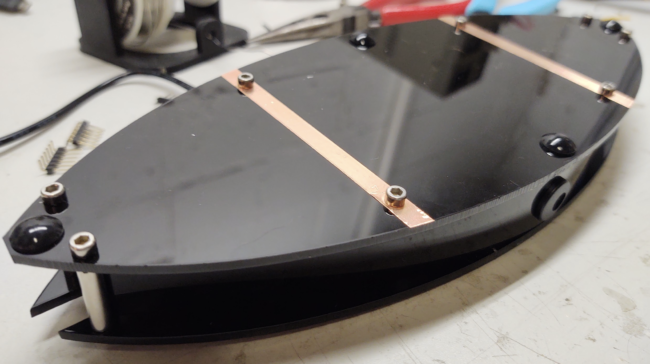
- 1/4″ clear acrylic sheet
- 1/8″ dark acrylic Sheet (background)
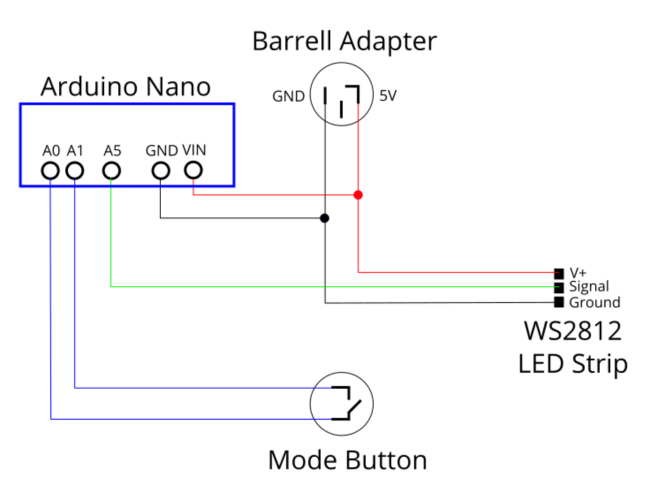
- Button
- Panel mount barrell adapter
- Power supply
Steps
- Prepare the image
- Cut the image
- Cut the base
- Assemble the base
- Prepare the image
1. Prepare the image
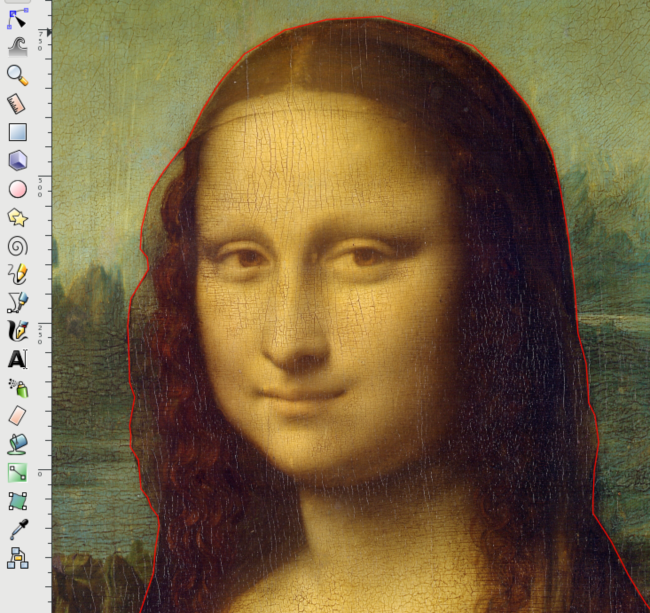
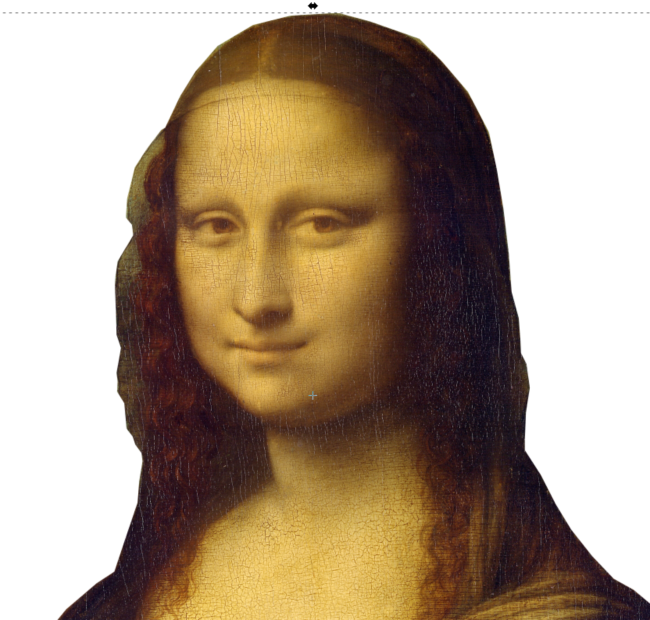
Trim the image to size. Cutting around the subject looks much better than trying to capture the background in my oppinion. Using InkScape (the best) draw a poly ground around thehead.
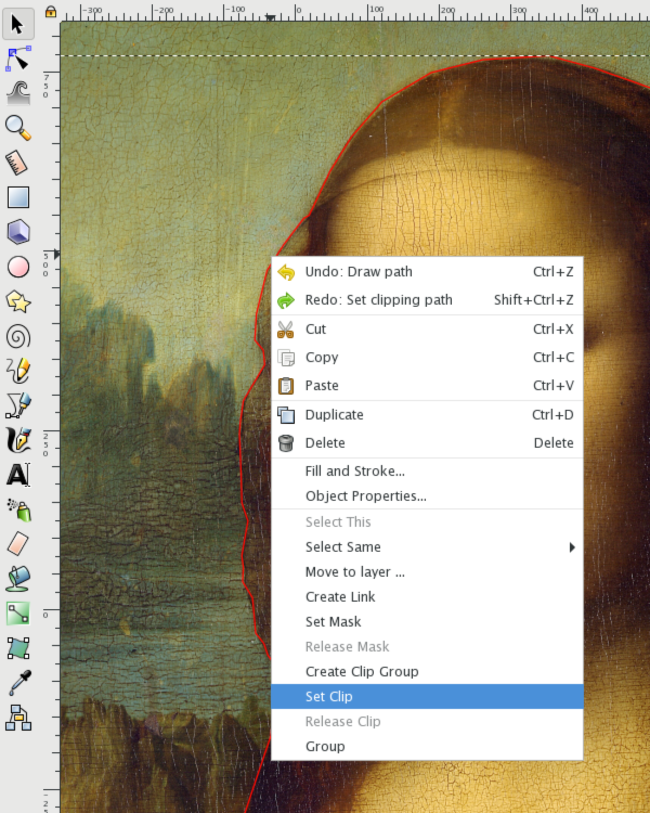
File –> Export PNG image…
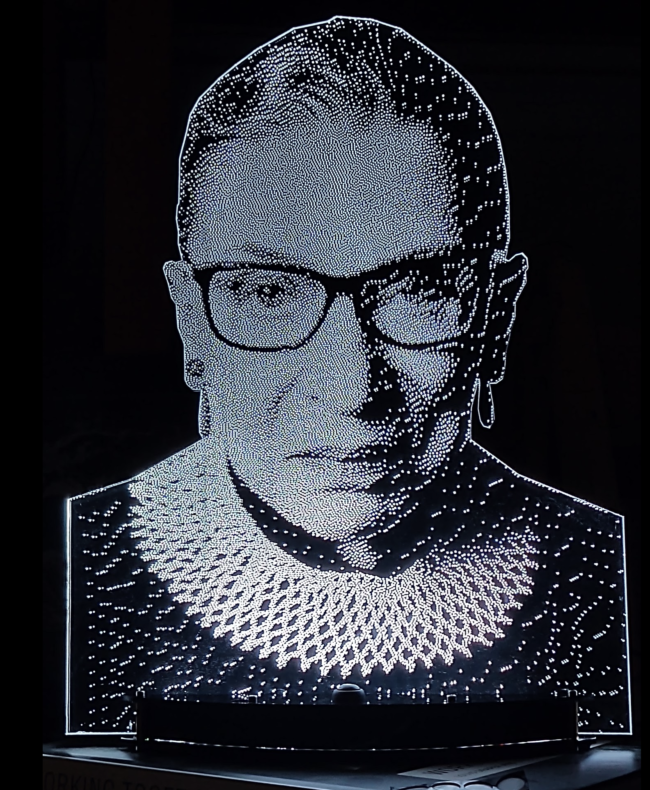
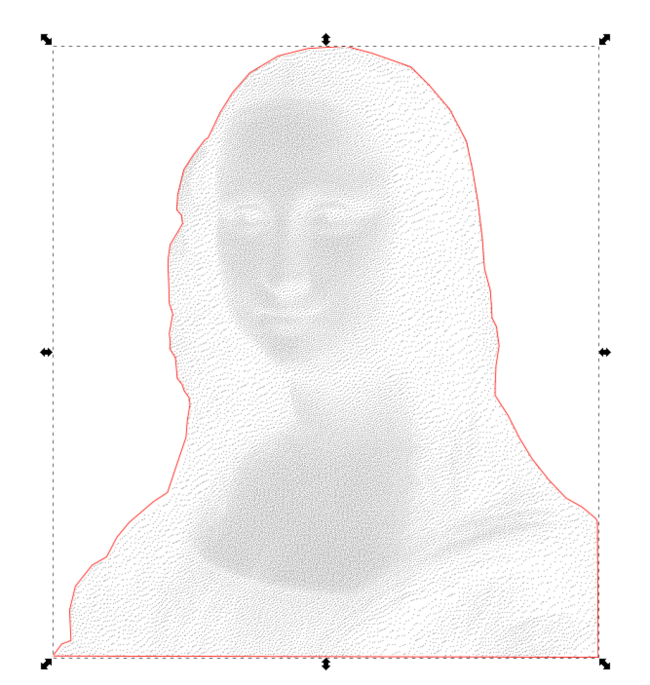
Run dither.py. This will covert your trimmed color image into a black and white dithered negative image (see below). Since edge lighting does not really have a grey scaling, each pixel is either black or white. The spacing of the dots provides a pseudo grey scaling.
File –> import (out_w_neg.bmp)
Resize outline, center on negative image
Cut
Raster dithered negative on clear 1/4″ acrylic (100% speed, 100% power on 50W laser), cut outline. On 1/8″ dark acrylic cut outline alone.
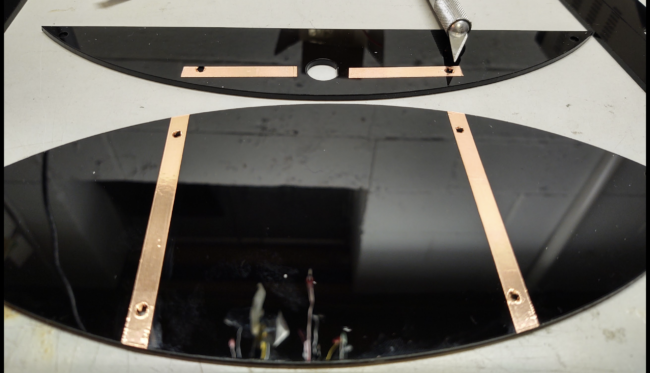
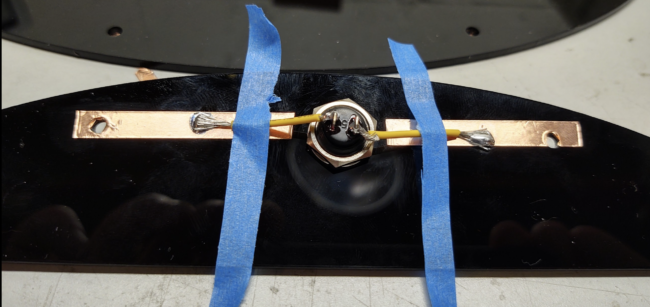
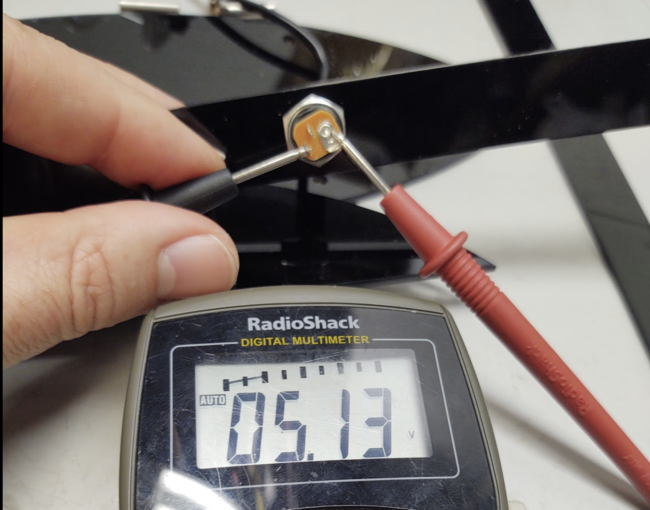
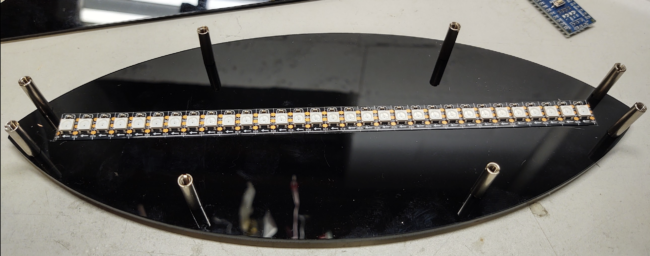
2. Cut Base

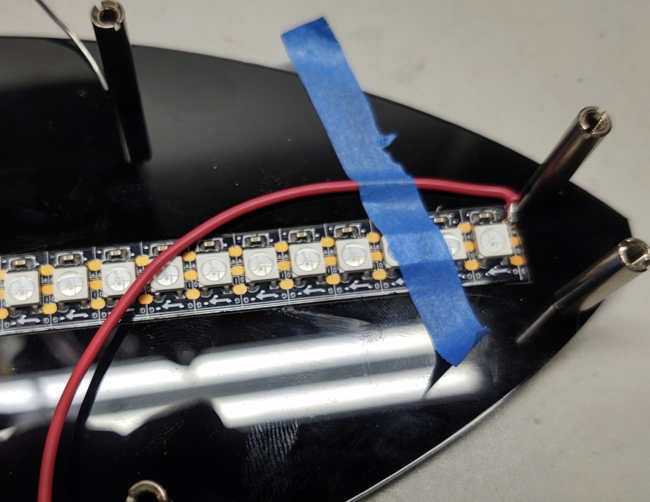
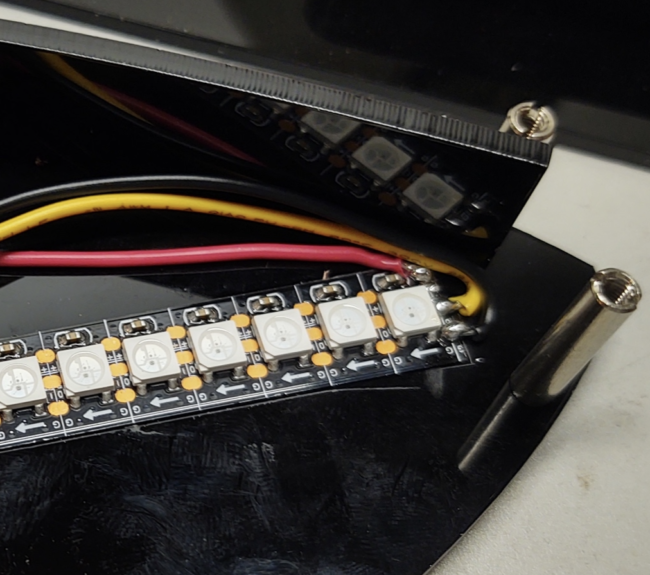
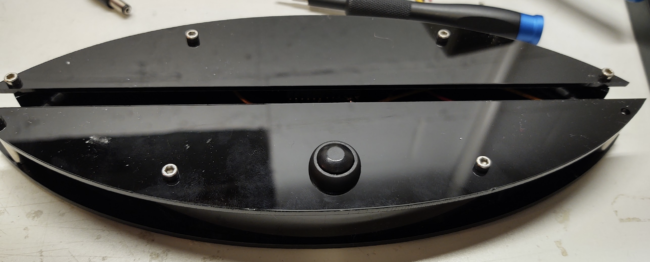
3. Assemble Base
Adruino code is based on FastLED.h library