Open Hardware Summit 2013: Success!

BRI_8846-76-X2

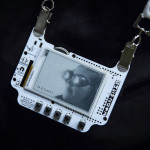
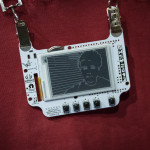
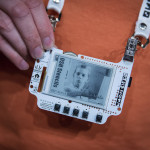
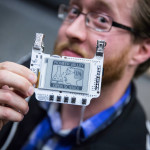
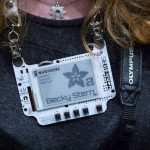
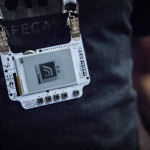
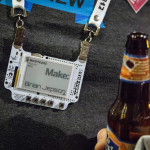
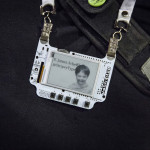
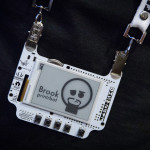
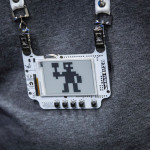
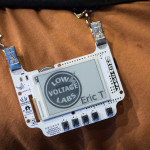
We did it.  We did it just in the nick of time.  We produced and delivered the hardware and software for 500 e-paper badges which were the hit of the summit. Flooding in Shen Zhen, where our Seeed Studio partners are located, delayed parcel pickup and nearly scuttled the whole affair. Frantic calls and emails on both sides of the Pacific only managed to confuse the situation. When seven of the eight boxes arrived in Washington DC we had them held for pickup and were greatly relieved to actually get the stinking badges in hand.

anool

We were able to distribute all of the boxed among all of our WyoLum passengers to get them from Washington to Boston without paying extra baggage.

Registration Crush
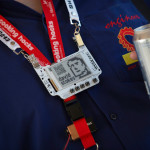
We received the final registration list after the doors were opened to the conference center.  Needless to say, there was much to be desired in cross referencing the final list to the badges, but we managed to get most of the people in there seats with a 30 minute delay.  For the most part the OHS participants were friendly and understanding.

Anool, Kevin and I presented a talk on #BADGEr directly after the keynote.  Video pending.

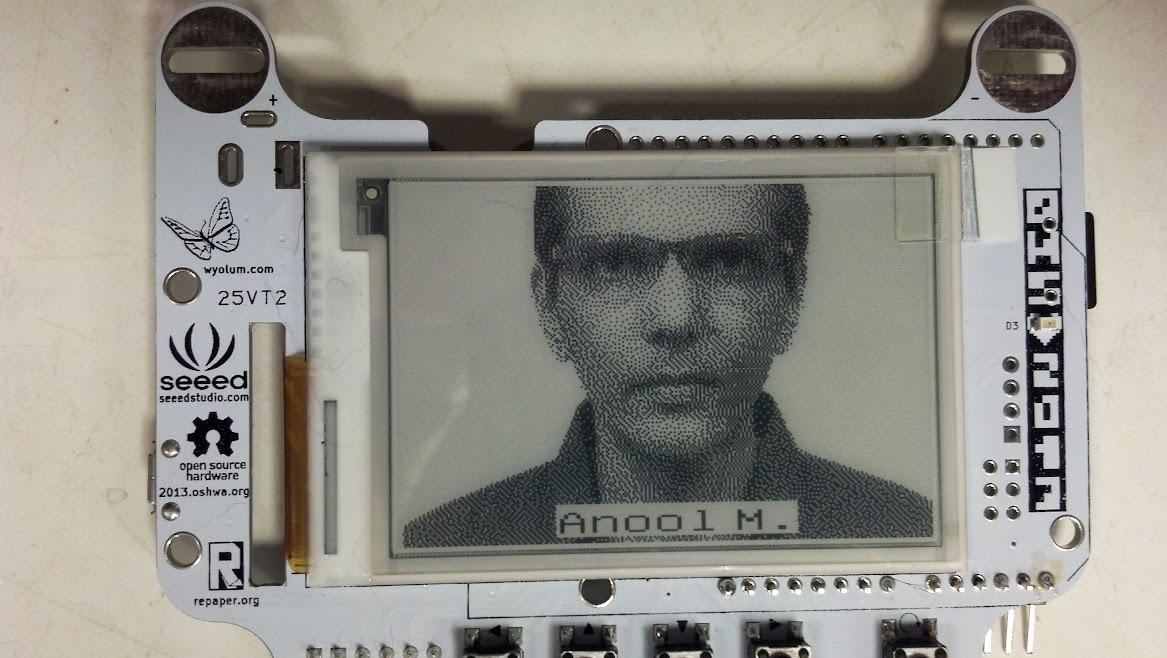
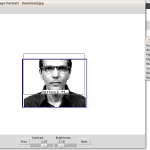
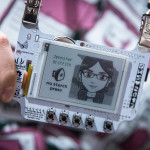
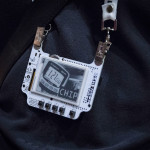
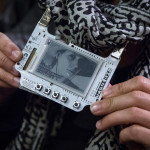
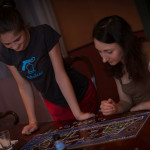
Several people managed to customize there BADGEr using wifit.py.

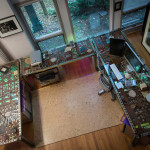
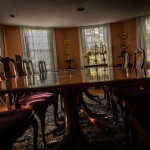
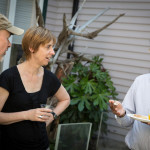
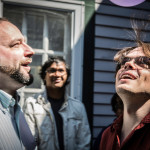
When we weren’t attending the summit, we got to hang out at an amazing home in Milton about 20 minutes South of Boston.  Every room was filled with beautiful original artwork and there were a lot of rooms and hallways, enough to get lost in and we did.

With Amy, Munmun, and Samata cooking we did not go hungry.

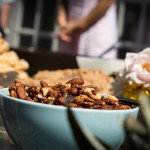
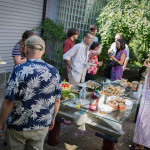
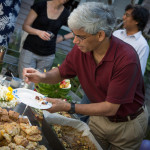
To top it off we had a brunch on Saturday after the summit.

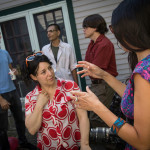
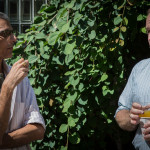
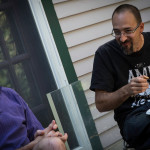
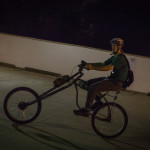
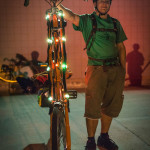
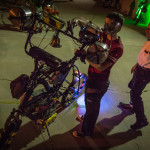
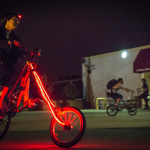
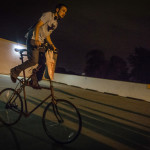
On Saturday night, we overcame our urge to go to bed early.  Jimmie invited the OHS volunteers for beers at Artisans Gallery.  The SKUL biker gang affiliated with the Asylum was out in full force.


Wifit on MAC!

maximka

Maximka has figured out how to install and run wifit.py on a mac.  Thanks Max!!   Here are the copy/pasted instructions.

(1) Install MacPort [1] . I tried out MacPorts v.2.2.0 on both Mac OS 10.6 and 10.7.5. After the initial install, run the selfupdater to make sure your install is totally up to date:
     sudo port -v selfupdate
(2) Install the numpy and PIL libraries. MacPort takes care of the dependencies which is very sweet.
     sudo port install py27-numpy
     sudo port install py27-pil
(3) Download and unzip the wifit code [2]. Change into the directory and call the wifit program from the command line. It’ll open up an interactive window.
     python2.7 wifit.py
I didn’t want to remap my default python in order to play with my badge, so I call “python2.7” If you want to make the MacPort 2.7 the default do this:
     
     sudo port select python python27
     python wifit.py
(4) Follow the Wyolum instructions for using their awesome tool.[3]

Installing wifit.py on Linux.

OHSummit 2013 Sponsors

Windows users should start here.

Mac users should start here.

Wifit was developed on Ubuntu 12.04 LTS.  Linux users should not have any difficulty installing it.

Requirements:

  1. Python2.7
  2. PIL
  3. Numpy
  4. wifit.py

I’ve written a small script (also included below) to do the legwork for you.  This will work on the Raspberry Pi too, but its pretty slow.

#!/bin/sh

wifit=wifit.0.0.3
sudo apt-get install python
sudo apt-get install python-imaging
sudo apt-get install python-imaging-tk
sudo apt-get install python-numpy
sudo rm -f $wifit.zip
wget https://wyolum.com/downloads/$wifit.zip
unzip -o $wifit.zip

Either copy and past the above script into a file or save the script into wifit_install.sh.  Your desktop might be a reasonable place to save it or in a temporary folder.  Change directories to where you saved the script.  And execute it.  You will be prompted for your root password.

Now use it!

Installing wifit.py on Windows.

Mac users start here. Linux users here.

Here are the minimal requirements run wifit.py.  If you know how to install packages on your platform, you should not have any trouble installing wifit.  These links and photos below are for windows. Wifit has been tested on Ubuntu 12.04, Windows 7, and Windows 8.

  1. python2.7
  2. numpy
  3. PIL
  4. wifit

Steps.

1. Install python2.7, by running the python installer.  Use default settings.

python-install-012. Install numpy by running the installer accepting defaults.

image

3. Install PIL by running the installer and accepting the defaults.

image (1)

4. Unzip wifit to your desktop (or favorite location).  Open the wifit folder and double click wifit.py.

image (2)

5. Make some wifs!  Save as .WIF or .png.  Post your results!

When an image comes along, you must wifit…

Screenshot from 2013-08-08 07:44:17

Wifit is a program to create images for E-Paper Displays (available at Adafruit).  It is written in Python using the amazing Python Image Library.

Features:

Download: Right now wifit.py is only available as a source zip file (or Fork me on GitHub!)  The py2exe build has one quirk right now that prevents you from writing text.  Hopefully we will get that worked out soon. Wifit.py requires python2.7, PIL, and numpy.

CommandsAfter you download the entire directory as a zip file, start EPD/libraries/EReader/examples/Album/wifit.py from the command line or by double clicking the file icon from windows explorer.

The default image will be displayed.  Familiarize yourself with the controls:

  • left-mouse-click: select image or text
  • left-mouse-drag: translate image or text
  • right-mouse-drag: scale image or text
  • ctrl-c: copy selected image or text
  • ctrl-v: paste selected image centered under mouse, or paste image at web url
  • type “I”: insert BigAscii text box
  • type “i”: insert Unifont text box (normal ascii)
  • <RETURN>: Exit text mode
  • <ESC>: Exit text mode
  • <DELETE>: Delete selected image or text
  • <CTRL>-i: Invert an image (black/white)
  • <CTRL>-c: Copy selected image
  • <CTRL>-v: Paste copied image (or paste image from url)
  • <CTRL>-r: Rotate image 90 degrees counter-clockwise
  • <CTRL>-h: Flip image horizontally
  • <CTRL>-u: Flip image vertically
  • <SHIFT>-<UP>: Nudge image up
  • <SHIFT>-<DOWN>: Nudge image  down
  • <SHIFT>-<LEFT>: Nudge image left
  • <SHIFT>-<RIGHT>: Nudge image right

Menus:

  • File–>Open: Open a new image file (close current image)
  • File–>Save: Save current view port image in WIF or png
  • File–>Exit: Quit the program
  • Size–>EPD_LARGE, _MED, _SMALL: Set view port size to EPD standard sizes.
  • Size–>Headshot: Set view port to standard headshot size for badges.
  • Insert–>Image: Open new image on top of old image.  Images can be edited independently.
  • Insert–>Big ASCII Text: Start typing in 16×16 pixel font
  • Insert–>Unifont Text: Start typing in (mostly) 16×8 pixel font
  • Insert–>5×7 Text: Start typing in 5×7 pixel font
  • Insert–>4×4 Text: Not implemented

Use it! 
This example will work with any Arduino compatible with an SD card (like AlaMode).

Now lets use wifit.py to make our badge for the Open Hardware Summit.  The badges will come pre-loaded with the information you provided at registration.  But you will want to customize it.

1. Start wifit.py and delete the default image after you have played around with it.

2. Select a photo from the web by right clicking in your browser and selecting “copy image url” and pressing ctrl-v to paste in wifit.  A Google image seach of “wyolum” produces a lot of cool pix.Screenshot from 2013-08-09 22:33:13

Screenshot from 2013-08-09 22:33:55

3. Adjust the image: move the image to the desired location (right-drag) and scale it (left-drag).  Use the sliders on the bottom to control contrast and brightness.

4. Add text: Insert–>Big ASCII Text. Type text and left-drag into position.  You can also rescale text with right-drag.

Screenshot from 2013-08-09 22:48:56

5. If your computer has an SD slot, you can save it directly to the SD card in the primary image location: “/ALBUM/A/A.WIF”.  Now insert the SD card back into BADGEr and hit reset (far right button).  Walla!

Have fun!

P.S.  You can thank my office mate for getting DEVO stuck in your head.

UPDATE!

I’ve added some more features: invert, rotate, flip, and nudge your images.  Tkinter allows you to detach menus from the menu bar.  This is handy if you don’t like keyboard shortcuts.