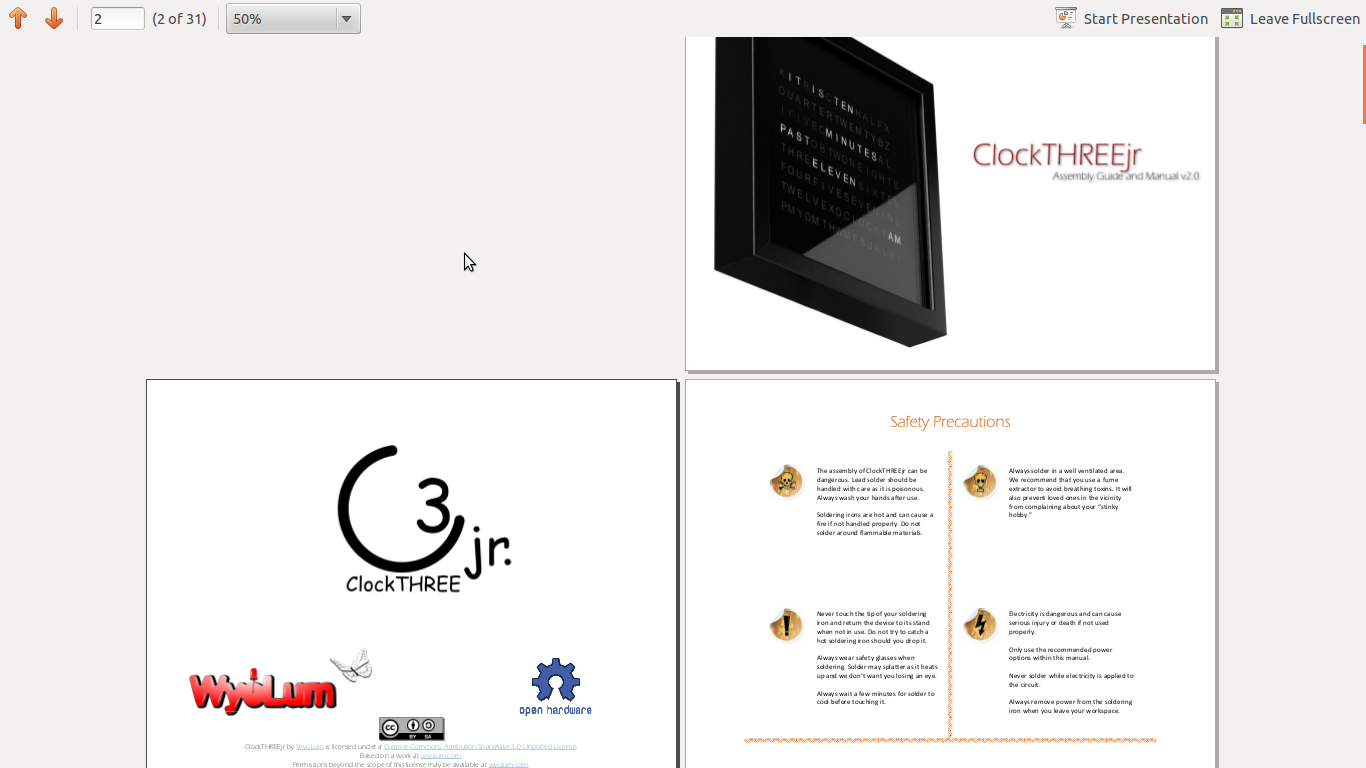
Brian Krontz has done it again. The instructions for ClockTHREEjr have been posted. We will update the manual periodically. In the mean time, please check here for updated and clarification.
Errata and updates…
- Add velum to parts list. We include a sheet of velum in the kit that is not mentioned in the parts list. Please take care in unwrapping your faceplate. There is a sheet of velum in there with the wax paper.
- Remove protective particle board from back of clock. If you bought a RIBBA frame with your clock, we used the particle board to protect the clock during shipping. (TODO:Brian, Glam shot of back of clock).
- USB WALL OUTLET BROKEN. We found a killer deal online for USB wall outlets (US plug, 110V only). We thought it would be nice to throw this in as an added bonus surprise for our US customers. This turned out to be a huge mistake as many plugs were defective and this detracts from that new clock experience. We have stopped shipping with any wall outlet. If you got one that works, consider yourself lucky, if you got a broken one, we are so sorry. If you feel we are being unfair, please let us know and we will find a solution together. See “How do I power the Clock” from our FAQ.
- The default power connector is a USB-MiniB connector. This is the kind found on many mobile phones, cameras and portable hard drives. http://media.digikey.com/pdf/Catalog%20Drawings/Connectors/UX60-MB-5S8.jpg
- Quick Start: setting the time:1. Hit <MODE> … (a large “S” is displayed to Set the time.
2. Hit <Enter> …(a large “Y” is displayed to set the year)
3. Hit <INC> or <DEC> to set year to 12
4. When year is “12” Hit <MODE> again … (a large “M” is displayed to set the month)
5. Hit <INC> or <DEC> to set month to 7
continue to set “D”ay “H”our “M”inute in a similar manor. If you mess up, just loop around again back to year.
6. When YMDHM are all correct, hit <ENTER> to set the time and return to normal mode or hit <RESET> to cancel - Smoke Test clarification (step 13). Depending on the language you have chosen, not all of the LEDs will light. To test all of the LEDs, press and hold <MODE> while you reset the board (press and realease <RESET>). This will sequentially light each LED, then turn them sequentially off. Please allow 10 seconds for the chip reset and restart.
- The most recent batch of backplates are slightly thicker that the earlier batch. We had to extend the length of 4 low head M3 screws to accommodate the backplate, 2 M3 nuts and the positioner. These kits include: 8x12mm screws and 4x16mm screws. Rather than 12x12mm screws.

